|
|
| Line 1: |
Line 1: |
| | <gallery mode="packed-hover"> | | <gallery mode="packed-hover"> |
| | File:Region_creation.jpg|Item 1|link=https://wiki.sine.space/images/2/2a/Region_creation.jpg | | File:Region_creation.jpg|Item 1|link=https://wiki.sine.space/images/2/2a/Region_creation.jpg |
| − | File:File:Region_2.jpg|Item 1|link=https://wiki.sine.space/images/2/2a/File:Region_2.jpg
| + | File:Region_2.jpg|Item 1|link=https://wiki.sine.space/images/2/2a/Region_2.jpg |
| − | File:File:Region_3.jpg|Item 1|link=https://wiki.sine.space/images/2/2a/File:Region_3.jpg
| + | File:Region_3.jpg|Item 1|link=https://wiki.sine.space/images/2/2a/Region_3.jpg |
| | </gallery> | | </gallery> |
| | | | |
Revision as of 17:22, 24 July 2016
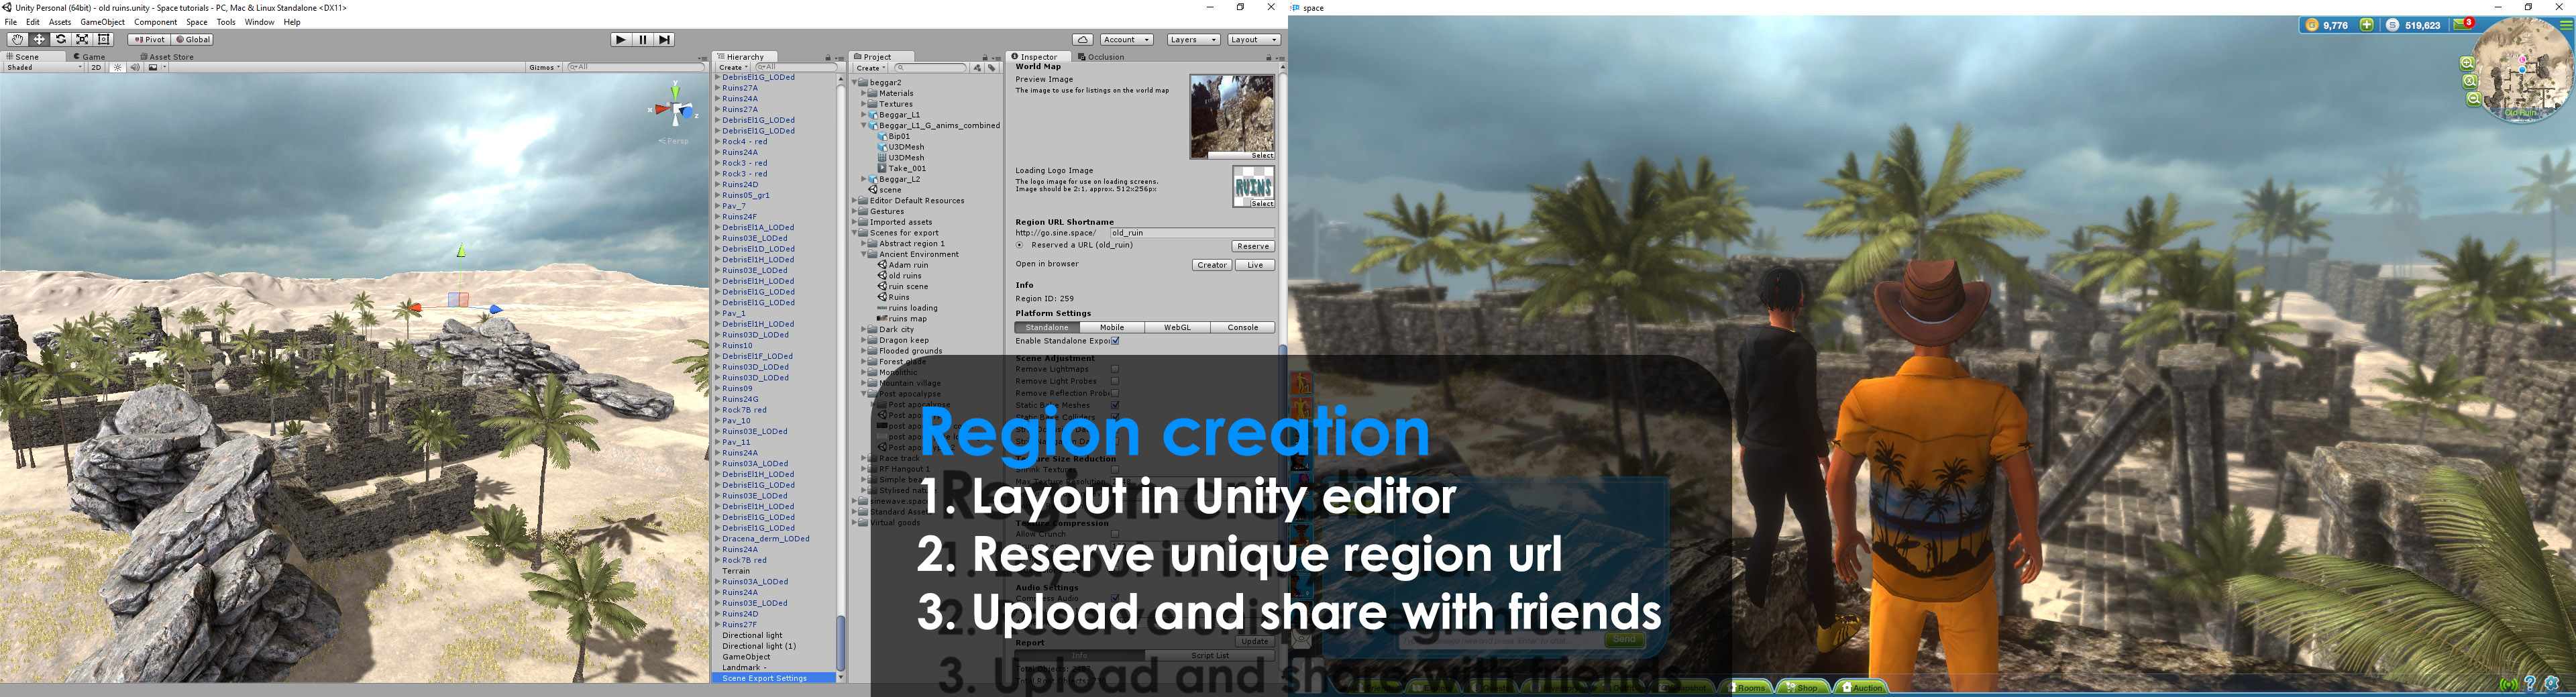
This section explains how you can create and upload regions to the Space virtual world.
- Grab an API key from https://curator.sine.space/ and link it to your Unity project.
- Download and import the Space Editor Pack prefab into your Unity project.
- Assemble your scene content
- Remove the main camera
- Add a landing zone
- Add Scene Settings Component
- Fill in Virtual goods information
- Choose whether your region is downloaded as one file or streamed progressively to your guests.
- Set your region's loading page
- Reserve your region's unique URL
- Choose which platforms to publish your regions in.
- Fine tune the export settings for each platform.
- Review the scene report
- Apply compression settings and make any manual adjustments
- Sort content into layers for draw distance and maake any manual adjustments
- Submit to http://creator.sine.space/
- Preview your region before pushing to Live.
- Manage access to your region.
- Manage multiple regions